This article contains affiliate links. If you buy through our links, we may earn a commission at no extra cost to you. We only recommend tools we’ve researched thoroughly, and I share my own experience where I have it.
You can have a working WordPress site on Hostinger in under 15 minutes: choose a plan, let hPanel install WordPress for you, point your domain, add a handful of plugins, and publish. No FTP, no database setup, no command line. This guide walks through the exact steps a freelancer needs to launch a portfolio or client site, and the one cost most tutorials skip.
I have done this on Hostinger’s managed WordPress Business plan: my own portfolio, a couple of WordPress blogs, and client sites all run from one account. So this is the process I actually use, not a theoretical one.
The short version
- Pick the plan by site count. One site: Premium. Several sites (portfolio plus client work): Business WordPress.
- Let hPanel install WordPress. The one-click auto installer handles the database, core files, and admin account.
- Add five plugins, not fifty. SEO, caching, security, backups, and a page builder cover almost every freelance site.
- Budget for the renewal, not the promo price. The intro rate is real but temporary. This is the single most common surprise.
WordPress runs roughly 43% of all websites on the internet, according to W3Techs, which is why almost every host optimizes for it and why your future clients will recognize it. Hostinger leans into that with a WordPress-specific setup flow.
Step 1: Which Hostinger plan should a freelancer pick for WordPress?
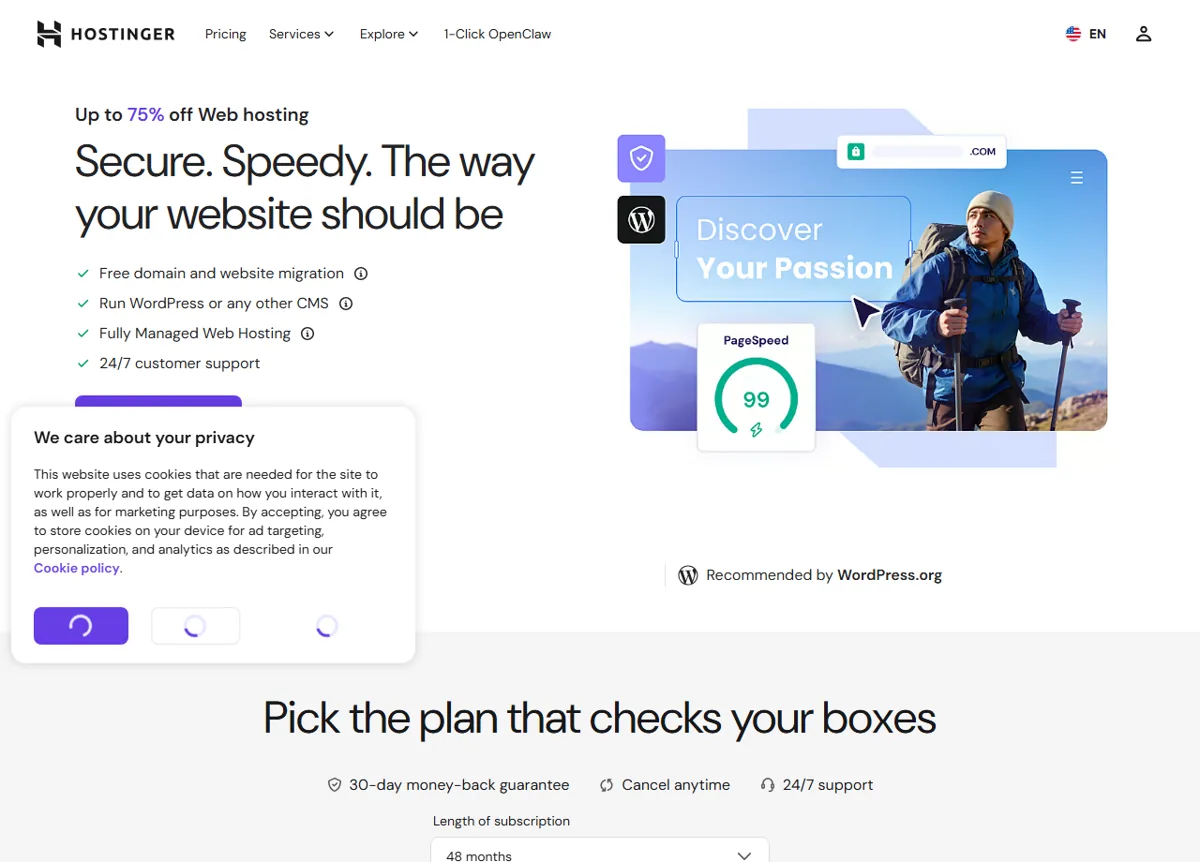 Match the plan to how many sites you will run. Public pricing page, June 2026.
Match the plan to how many sites you will run, not to the feature list.
- One portfolio or a single client site: the Premium shared plan is enough. It runs WordPress fine and includes a free domain for year one on annual terms.
- Several sites at once (your portfolio plus client work), or you want managed WordPress extras: the Business WordPress plan. This is what I use. It allows around 100 websites and adds daily backups, a one-click staging environment, and object caching, which you start to care about the moment a paying client’s site is involved.
Both tiers use LiteSpeed web servers and include the LiteSpeed Cache plugin, which is a real speed advantage over basic Apache hosts. Both include a free SSL certificate.
One honest note before you buy: the headline price (often around three dollars a month) is an introductory rate that requires prepaying for a multi-year term. The renewal is materially higher. Pick the longest term you are comfortable with to hold the low price as long as possible, and write down the renewal rate so it is not a surprise in year three. For a full breakdown of plans and the renewal math, see the Hostinger review for freelancers. If you are still comparing hosts, the best web hosting for freelancers roundup and the Hostinger vs Bluehost comparison cover the alternatives.
Step 2: How do you connect or register your domain?
You have two paths:
- New domain: on an annual plan, Hostinger includes a free domain for the first year. During checkout or in hPanel under Domains, search for the name and claim it. It renews at standard pricing after year one.
- Existing domain: if you already own a domain elsewhere, point it at Hostinger by updating its nameservers (Hostinger shows you the exact values in hPanel). DNS changes can take a few hours to propagate, so do this first and let it settle while you build.
If you are still choosing a name, register the domain and the matching social handles at the same time so your brand is consistent across the web.
Step 3: How do you install WordPress on Hostinger?
This is the part hPanel makes genuinely easy, and the reason setup feels fast.
- Log in to hPanel (Hostinger’s control panel, used instead of the older cPanel).
- Open the WordPress section, or follow the guided onboarding that appears on a fresh account.
- Choose Install WordPress. The auto installer provisions the database, installs the WordPress core, and creates your admin account in one step.
- Set your site title, admin username, and a strong password. Use a real password manager value here, not a reused one, because this is the login attackers probe first.
- Pick your domain as the install location and confirm.
That is it. In a minute or two you have a live WordPress dashboard at yourdomain.com/wp-admin. There is no manual database creation and no FTP upload. According to Hostinger’s own documentation, the auto installer is the recommended path for new sites, and in practice it is the only one most freelancers ever need.
If you prefer to watch the flow before doing it, this walkthrough covers the same hPanel install end to end:
How to set up WordPress on Hostinger (hPanel walkthrough)
Step 4: Which theme should you start with?
Resist the urge to spend a day picking a theme. For a freelance portfolio or client site, a fast, well-coded theme matters more than a flashy one, because Google’s Core Web Vitals reward speed.
- Start with a lightweight, block-friendly theme (the default WordPress themes are now genuinely good and fast).
- Avoid bloated multipurpose themes that load sliders and page builders you will never use. They are the most common cause of a slow WordPress site.
- If you want drag-and-drop layout control, add a page builder as a plugin (Step 5) rather than relying on a heavy theme to do everything.
You can change the theme later without losing your content, so do not treat this as a permanent decision.
Step 5: Which plugins does a freelance WordPress site actually need?
The fastest way to slow down and break a WordPress site is to install too many plugins. Five categories cover almost every freelance use case:
- SEO: an SEO plugin manages your titles, meta descriptions, sitemaps, and schema. This is non-negotiable if you want the site to rank. Rank Math is a strong choice for freelancers because its free tier includes schema and content analysis that some competitors charge for.
- Caching: on Hostinger, install LiteSpeed Cache. It is built for Hostinger’s LiteSpeed servers and is the single biggest speed win you can apply in one click.
- Security: a security plugin adds a firewall, login protection, and malware scanning. Brute-force login attempts are constant on any live WordPress site, so this is worth setting up on day one.
- Backups: the Business WordPress plan includes daily backups, but a backup plugin gives you on-demand restore points before big changes. Always back up before updating themes or plugins.
- Page builder (optional): if you want visual layout control, add one page builder. Pick one and learn it well rather than stacking several.
Keep the list short. Every plugin is code that can slow the site, conflict with another plugin, or introduce a security hole. Audit your plugins every few months and remove anything you are not using.
Step 6: What should you configure before launch?
A few settings save you pain later:
- Permalinks: in Settings, Permalinks, choose the Post name structure (
yourdomain.com/post-title/). It is cleaner for readers and better for SEO than the default numeric URLs. - HTTPS: confirm the free SSL is active and your site loads on
https://. Hostinger provisions SSL automatically, but check it before you share the link. - Search engine visibility: make sure “Discourage search engines” is unchecked in Settings, Reading, before launch. It is easy to leave a site accidentally hidden from Google.
- Email: set up a branded email address (such as [email protected]) so client emails do not come from a generic Gmail. Hostinger plans include email hosting or forwarding.
Step 7: The pre-launch checklist
Before you send the link to a client or add it to your portfolio:
- Every page loads over
https://with no mixed-content warnings. - Permalinks are set to Post name.
- An SEO plugin is active and your homepage has a title and meta description.
- A caching plugin is active (LiteSpeed Cache on Hostinger).
- A backup exists, and you know how to restore it.
- The site is visible to search engines (the discourage box is unchecked).
- Your contact form actually delivers to your inbox (test it).
Run a quick speed test after launch. With LiteSpeed Cache active on Hostinger’s LiteSpeed servers, a lightweight theme should load fast on both desktop and mobile, which is what Core Web Vitals measure.
Our recommendation
For a freelancer launching a portfolio or client sites, Hostinger plus WordPress is a fast, low-cost way to get online without becoming a server administrator. hPanel removes the parts that used to make WordPress setup intimidating, and LiteSpeed gives you real speed out of the box. The honest trade-off is the renewal price: it steps up after the intro term, so commit to the longest term you are comfortable with and treat the renewal rate as the true cost.
If that fits how you work, you can start a Hostinger plan here and follow the steps above. For the full plan breakdown and the renewal math before you commit, read the Hostinger review for freelancers.
Frequently asked questions
Which Hostinger plan is best for a WordPress site?
How long does it take to install WordPress on Hostinger?
Do I need to install WordPress manually on Hostinger?
Does Hostinger include a free domain and SSL for WordPress?
What is the catch with Hostinger's cheap WordPress hosting price?
Can I host multiple client WordPress sites on one Hostinger plan?
MJ runs SoloBrief.co, a site covering AI tools and software for freelancers and one-person businesses. This guide is based on first-hand use of Hostinger’s managed WordPress plans. Verify current pricing and plan features on Hostinger’s site before buying, since promotional and renewal rates change.